BEGINNER GUIDE
How to make a fuse bead pattern
Follow a simple workflow from choosing a picture to exporting the chart, sorting colors, placing beads, and ironing the completed design.
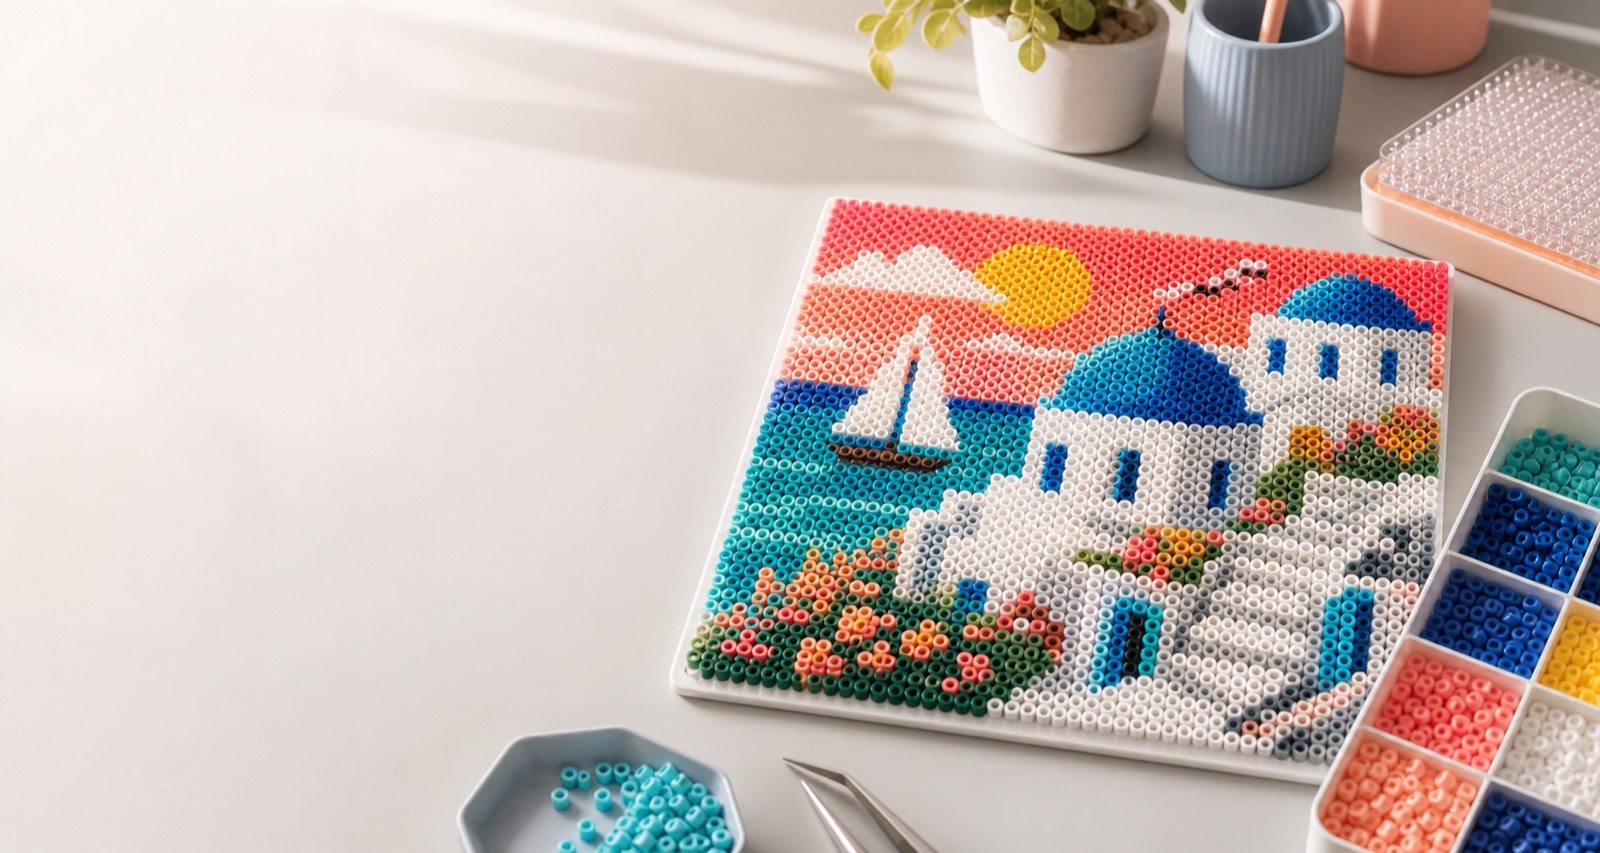
Step-by-step workflow
- Choose a clear image. A simple background and recognizable silhouette work best.
- Set the bead width. More beads preserve more detail but require more boards and materials.
- Choose the color count. Start small, then increase only when important details are lost.
- Review and edit. Highlight colors and correct any individual cells before export.
- Prepare beads. Sort colors using the exported code and quantity list.
- Place and iron. Follow the chart row by row and use the bead manufacturer's heat guidance.
Large patterns
For a design larger than one board, use the A4 layout or board grid to divide it into sections. Label each section before moving or ironing it.
FAQ
How many colors should a beginner use?
About 8 to 20 colors is manageable for many small and medium projects.
Why does my result look too busy?
Reduce the color count, simplify the background, or use a larger bead width.